

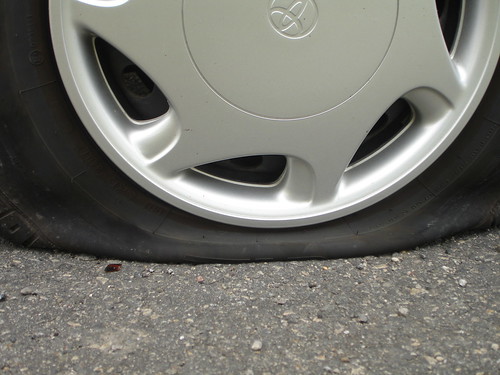
There is nothing worse than being stranded on the side of the road with a flat tyre, waiting for hours before a rescue team come and save you. Changing a tyre can be pretty easy though, as long as you know how. Here’s a quick guide you can print off and keep in your car; just in case!
1) Find a suitable place
The first thing to do to ensure you remain safe is to find a suitable place to change your tyre. You want to make sure that it is on a flat, even surface so that the car does not roll away. Try and move the car as far away from any traffic as possible and make sure you switch your hazard lights on! Make sure you apply the parking brake (or handbrake) and put into first, or reverse gear. Now simply put a supporting object such as a brick, spare tyre or rock in front of all the tyres (front and back).
2) Jack it up
Now you need to remove your spare tyre and jack from the boot of the car (hopefully!) and ensure that they seem in good working order. Place the jack under the frame of the car, closest to the tyre you are going to change and directly in contact with the metal section of the frame. It is important to ensure it is on the metal as many cars will have a plastic section that can break when being jacked up. You may find that your car has a notch where the jack is meant to be placed, especially in newer models. Now you need to raise the jack up until the car is being supported, but not completely lifted off the ground.
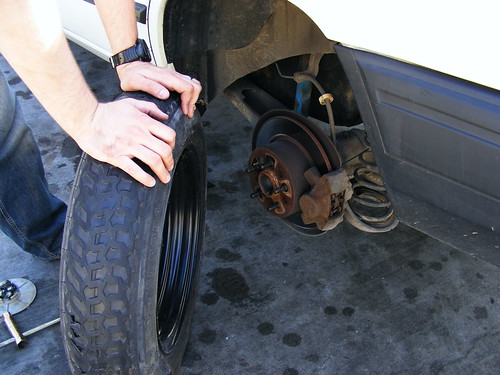
3) Removing the tyre
Remove the hub cap first and then loosen the nuts of the wheel by turning them counter clockwise (lucy lefty, tighty righty). Make sure you don’t take them all the way off the wheel, just loosen them for now. Try to use the wrench that came with the car or a cross wrench if you don’t have it. It may take some force to loosen them so ensure you are turning the right way and put your body weight into it. Now you need to jack the car up some more so that the wheel is completely lifted off the ground with room to place the new one. You can now remove the rest of the nuts and pull the tyre off. Place it under the car in case the worst happens and the jack gives up, this should prevent damage to the car or to yourself!
4) Replacing the tyre
Now you need to place the spare tyre on the hub and carefully match up the holes for the nuts and bolts. You should place the nuts in and tighten them by hand first before tightening them with a wrench. You may wish to do this in a star formation so that it doesn’t make the tyre uneven, tightening one nut across from each other as you go along.
5) Finishing off
Now you can slowly lower the car back slightly, without putting the whole weight of the car on the tyre. You should now be able to tighten the nuts some more before lowering the car down to the ground and tightening them just one more time. Now simply pop the hubcap on and put the old tyre in your boot to replace!
It’s extremely important to look after your tyres so that you don’t have to go through this any more than you need to! Keep them in good condition using maintenance products and you won’t have to worry about stopping to change a tyre in the middle of the road. At least you know how to now!