

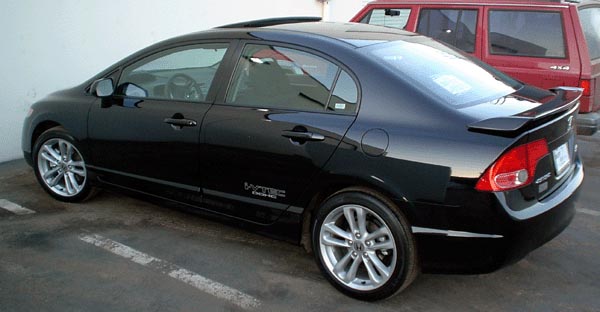
While your Civic SI offers plenty of performance and power out of the gate, there are always options to increase your capabilities. While you can do things like adding a turbo or installing new struts and lowering springs, one of the simplest and most effective options is to replace the stock exhaust system – a cat back exhaust system can take your SI from blasé to blazing.
How Does a Cat Back Help?
If you’re not familiar with the role that your exhaust plays in performance, let’s take a quick look. Stock exhaust systems are not really designed for high performance needs (even with the SI). Instead, the automaker has to compromise between performance and price, all while ensuring that the exhaust meets US government emissions standards. Your stock exhaust is narrow, which means lots of back pressure. Removing most of the system and replacing it with a cat back offers wider pipes and a better muffler (as well as a better catalytic converter), all of which reduce the amount of back pressure in the system and increase available horsepower (across all bands).
The First Step
So, you’ve got your cat back system and you’re ready and raring to get going. It’s a pretty simple job, but you’ll need a few tools. Make sure you have a way to get your entire car in the air – a vehicle lift is best, but you can also use jack stands if you’ll be doing this at home in the driveway. In addition, you’re going to need a ratchet, extension and the appropriate sockets for the job. As a tip, invest in an air compressor and air tools. They can save you an enormous amount of effort.
Next On the List
The next step is going to be removing all the bolts from the system – start at the bottom of the downpipe. There should be two bolts here that connect the rest of the exhaust to the downpipe. Remove those. You will also need to remove the oxygen sensor (or sensors depending on your specific model). Once you have removed all the bolts securing your B pipe, it’s time to tackle the hangers. These are rubber pieces that allow your exhaust to hang from the underside of the car. A little lubricant (WD40 works well) will make these easier to remove. Once you have removed the hangers, your exhaust system should slide out.
Install the New Cat Back
Once your old pipes are down and out of the way, the cat back system bolts right up to your downpipe and you can use the same hangers to secure it beneath your car. If your hangers are worn and old, now’s the best time to replace them. They’re inexpensive, but vital. Make sure that the new donut gasket is seated properly between the B pipe and downpipe connection and that you install the O2 sensor properly (they’re easy to cross-thread).
Check and Test
Before you lower your car, double-check the entire system to make sure that it’s secure. Test the bolts, hangers and make sure that the muffler clears the underneath portion of the bumper (buying a quality cat back system will help here).
When you’re sure that everything is secure (and you don’t have any leftover bolts or hangers), it’s time to drop the vehicle and test the exhaust. Crank the car and let it run. Listen for leaks in the exhaust (the donut gasket is the most likely culprit) and keep an eye on your check engine light. The most common problems experienced after exhaust work are leaking gaskets and incorrectly installed (or disconnected) O2 sensors.
Stan Thompson offers advice on car parts from cat back exhaust systems to air intakes and more. Visit VividRacing.com for vividly designed and engineered for speed auto parts.