

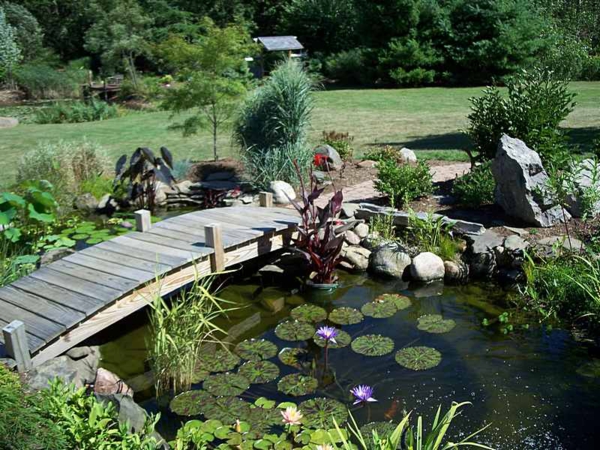
A pond makes an attractive feature for any garden. But before you start work on building one it pays to put a little effort into planning what you’re going to do and making sure you have the right materials. A little preparation at the start will save you a lot of time and effort later on. First of all you need to decide on the location. Ideally this should be in an open position away from any overhanging trees but that will only get around four or five hours of full sunlight during the day.
Once you’ve chosen a position you can work out the shape you want. Use a rope or garden hose to mark out the perimeter and adjust it to taste. When deciding on the shape try to use smooth curves and avoid sharp angles and narrow sections which can lead to areas of dead water. Once you’ve worked out the shape, measure the length and width, decide how deep you want the pond to be and you can work out what size liner you’re going to need.
Size Matters
Calculating the size of liner required isn’t hard to do. Take the depth of your pond and add double this to both the length and width. So, for example, if your pond is six feet by eight feet and two feet deep, you will need a liner that’s ten feet by twelve feet. The extra material allows the liner to mould itself to the sides of the pond whilst still leaving enough overlap for you to weight or peg down the edges.
Invite Nature to Take a Dip
Now that you have the shape and the right sized liner you can begin the hard work of digging out your pond. Leave a shelf around the edges to allow for marginal plants that prefer shallower water. If you’re building a wildlife pond you should also plan at least one shallow sloping side to allow easy access for frogs and other amphibians. This also lets birds and small mammals drink and bathe easily.
With the pond excavated make sure it’s clear of roots and sharp stones then cover it with a layer of soft sand to protect and cushion the liner. You can also use underlay to do this if you prefer, in which case lay it in a series of overlapping strips across the width of the pond.
Now for the liner, drape it loosely over the pond area so that it just touches the bottom but don’t attempt to press it down on form it to the shape. Weight down the edges with stones and then begin to fill the pond with water. The weight of the water will allow the liner to gradually sink and conform to the shape of the pond. Keep moving the weighting stones to allow the liner to sink into the pond and mould itself to the sides.
Don’t Get Bogged Down
Once it’s full you can trim off the excess liner and fix it in place. If you want to create a bog garden at one of the edges you can do this by leaving the excess liner in place and digging out a shallow area – around five inches deep – beneath it. Fill the lined area with soil and populate with suitable marsh plants.
You can now add the finishing touches. Use slabs at the edges for a formal look or rocks for something that appears more natural. You may want to use the soil that you’ve excavated from the pond to create a raised rockery at one end of your pond and perhaps incorporate this into a waterfall or create a fountain. You will of course need a suitable pump if you’re going to do this.
Before you begin adding plants or introducing fish you should allow a few days for the chlorine in the tap water to dissipate. If you’re building a wildlife pond it may take time for it to populate naturally, you just need to be patient.
Should you want to add movement to your pond with a waterfall or other feature make sure you choose from the great range of suitable fountain pond pumps available online.