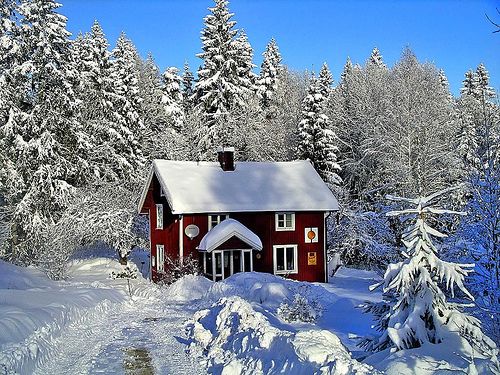
All of the signs are there, even if we want to ignore them—winter is coming. With cold weather and snow on the way, you need to act now and prepare your home for winter. If you haven’t thought about “Winterizing” your home yet, check out these ten steps and get ready for the coming season.
Step 1 – Inspect Your Heating System
Now is the time to test your heating system. For a forced air furnace system, switch from cooling to heating and turn the thermostat up high enough to trigger the furnace. Heated air should begin to blow into your living space within a few minutes. If the furnace does not operate properly, book an inspection right away. Now is a good time to change the filter as well, either replacing or cleaning out your reusable furnace filter.

Testing for other home heating systems is similar, simply turn them on and check for proper operation. Read through the owner’s manual for detailed instructions on testing methods.
Step 2 – Top Up Your Fuel
If your home heating system uses heating oil, firewood or wood pellets, now is the time to stock up. Demand (and usually prices) go up once the cold weather sets in. Have your oil tank refilled, purchase the cords of wood you’ll need to last the winter or stock up on wood pellets for your stove. Those who use natural gas or electricity can rely on constant supply.
Step 3 – Clean Out the Gutters
Falling leaves and general debris can quickly clog your gutters. Climb up on a secure ladder and remove any build up in and around the gutters and drainpipes. Inspect the condition while you’re up there, and repair any rusted seams and bent or broken sections. Make sure all of the mounting brackets are secure and replace any that seem questionable. Also, be sure that downspout extensions terminate far enough away from the house or else you may experience flooding in your basement when th snow starts to melt on your roof.

Step 4 – Seal Windows and Doors
Inspect around all doors and windows, from both the interior and exterior of your home. Any gaps wider than 1/8-inch should be filled with silicone caulking. Look for a brand that dries quickly and can be installed in lower temperatures. If sunlight comes through the doorframe, use sprayfoam insulation to seal the area.
Step 5 – Book Your Chimney Inspection and Cleaning
Call your local chimney sweep and book a chimney cleaning and inspection. Try not to delay; autumn is the busiest time of year for these professionals and their schedules book up quickly. A chimney inspection will alert you to any necessary repairs and a chimney cleaning will remove dangerous creosote, helping to reduce the risk of chimney fire. Natural gas fireplaces also require regular inspections.
Step 6 – Inspect the Roof
Check out the condition of your roof now, before the snow falls. Any deteriorated shingles should be replaced or covered in a heavy tarp. Pay close attention to the valleys and edges of your roof. If you can safely climb on the roof (be sure to tie-off), check for spongy areas. This indicates rotting of the roof deck, and could result in a leaky attic. Hire a roofer to handle any serious repairs.
Step 7 – Drain the Irrigation System
Your sprinkler system should be turned off by now, but the piping must be drained before a major frost. Call your sprinkler service company and book an appointment to have your irrigation system drained. It’s a small price to pay to protect the entire system from leaks and damage.
Step 8 – Turn Off the Outside Taps
Just as your sprinkler system needs to be drained, outside taps must be emptied as well. Any water left in the pipes will freeze and expand, causing serious and potentially expensive damage. Drain all water from the taps. You’ll need to turn off the main valve inside your home if you have older style exterior taps (not labeled frost-proof).
Step 9 – Pack Away Your Mower
Read the owner’s manual and follow the cold-weather storage tips for your lawn mower. In most cases, you’ll need to drain the fuel tank and wipe down the blades to reduce the risk of corrosion. Clear a space in your garage or shed and pack away your lawn maintenance equipment until next spring.
Step 10 – Extend the Drainpipes
Protect your foundation from water issues by adding extensions to the drainpipes. Downspout extensions help to redirect water away from your house, reducing the risk of flooding in the basement and around windows.
Protect your home and enjoy a comfortable season by following these steps to prepare your house for winter.
Shannon Ryan is the online community manager for the Nusite Group, a Toronto waterproofing and specialty trades company.

